Seattle, WA
Seattle, WA
I've been working on many things lately while I seek a new job. So many things in fact, that I figured it would be fun to collect them all here in a blog! I plan to update the blog weekly on Fridays and cover:
All of this is mostly to give a window into what I'm up to and to keep myself motivated to make progress on my various projects!
Last year I came into posession of a soldering iron, a 60W Weller. It works great except for the fact that it's missing its stand, and I haven't been able to get a hold of Weller support to get a replacement.
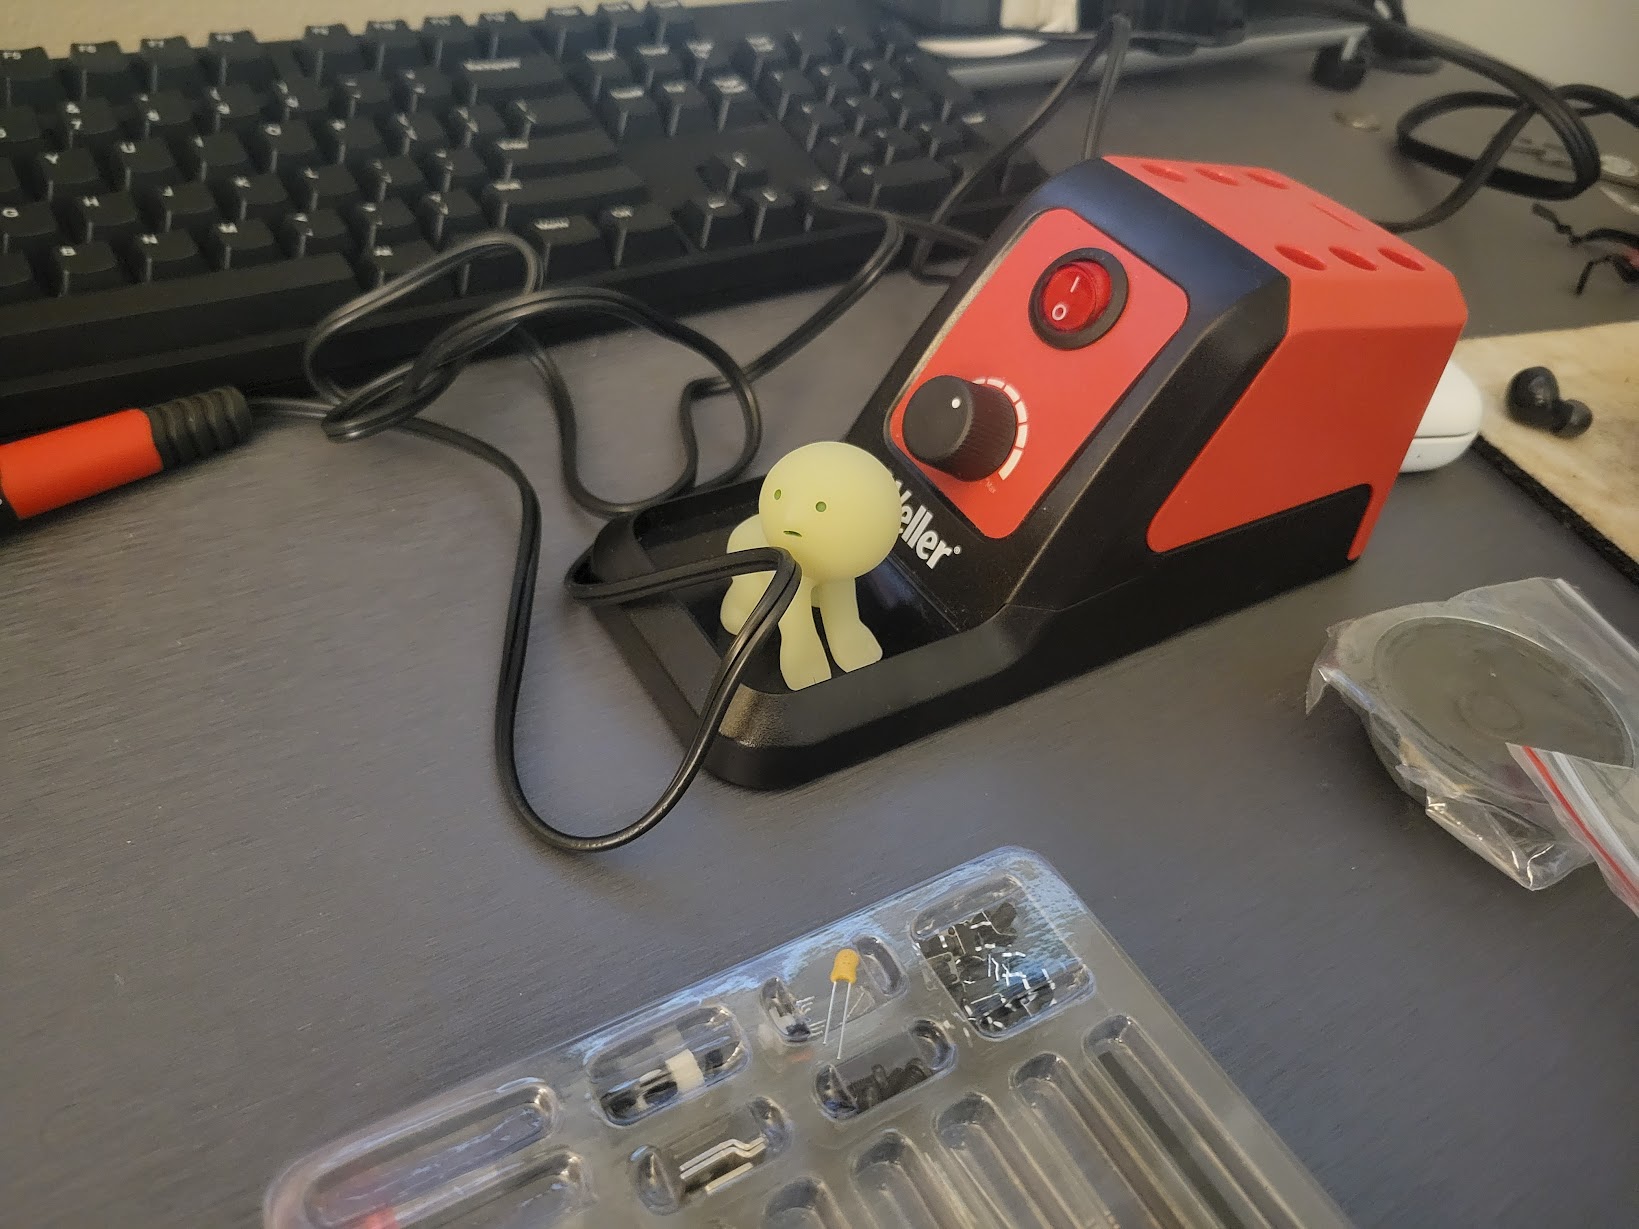
My soldering station (complete with little buddy).
My partner got me a Vogurtime piano soldering kit which was a great opportunity to practice my soldering and set up the station. A simple Amazon fan pulling the fumes away did wonders, I finished it very quick!
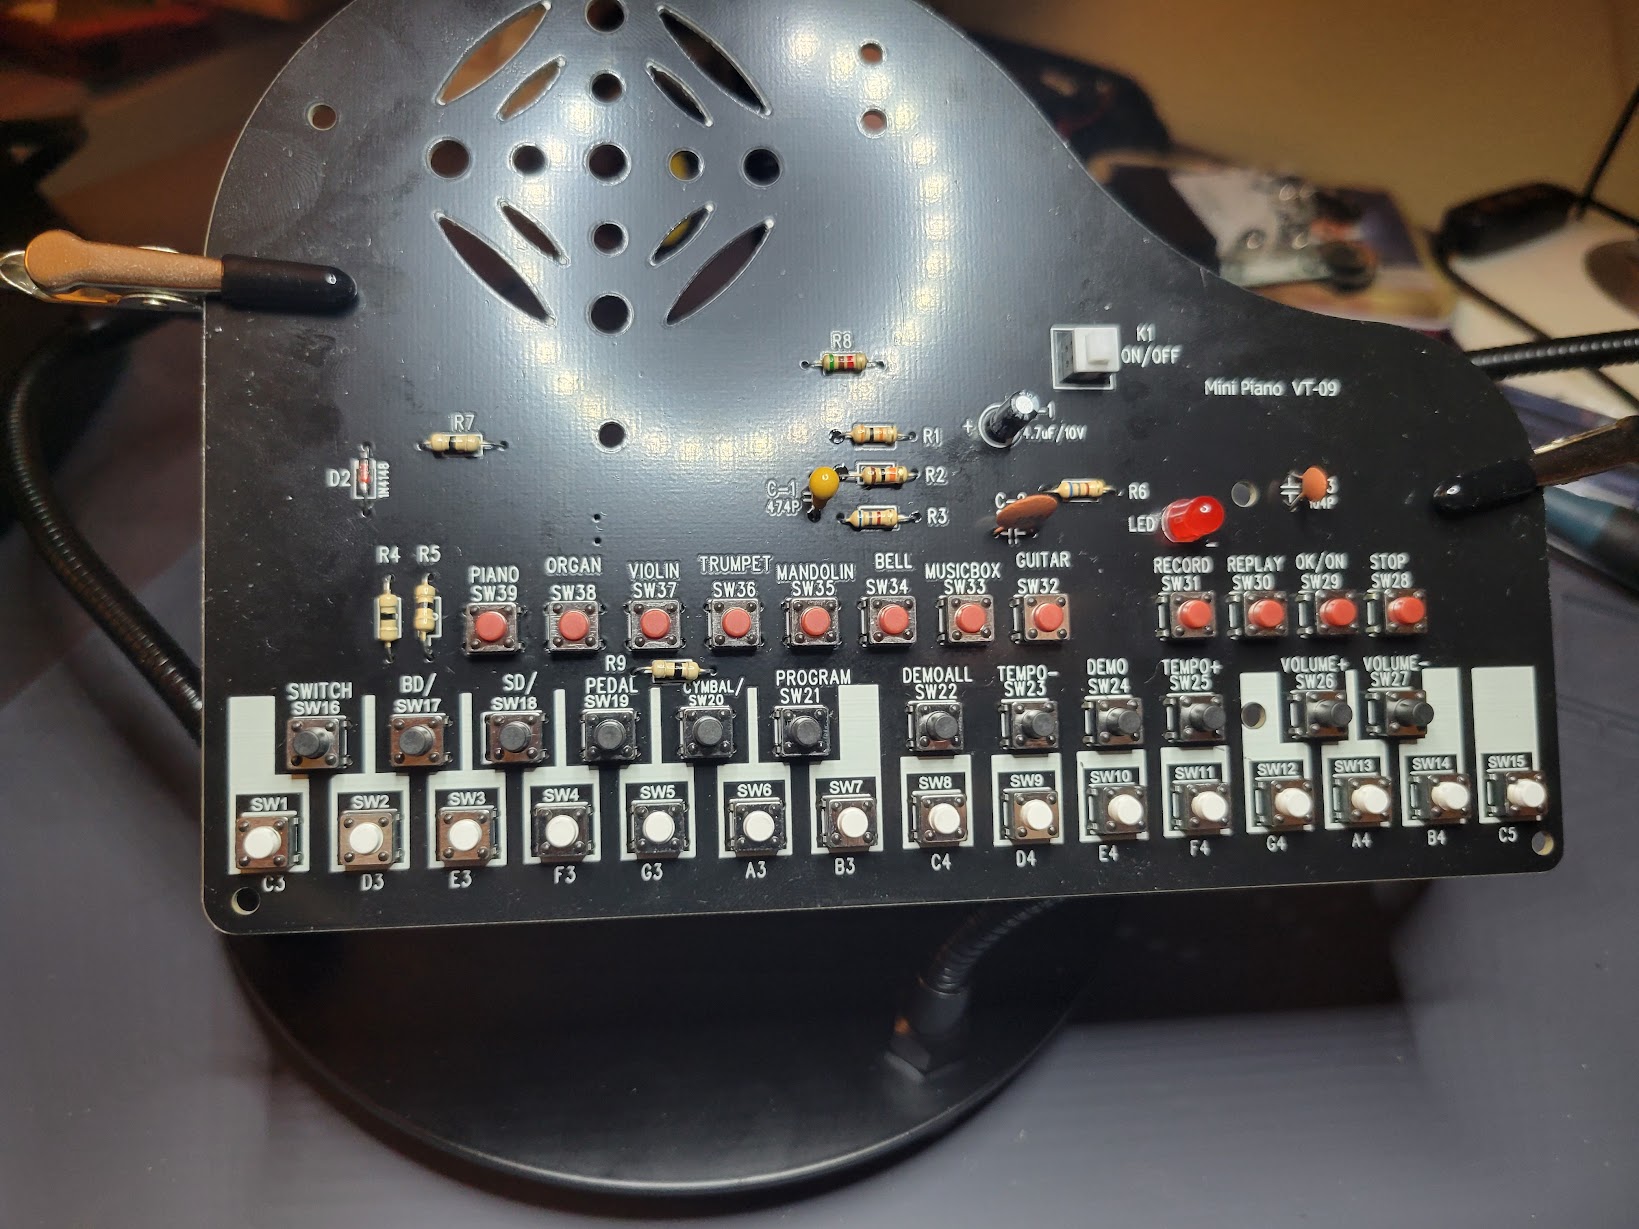
The front of the finished piano.
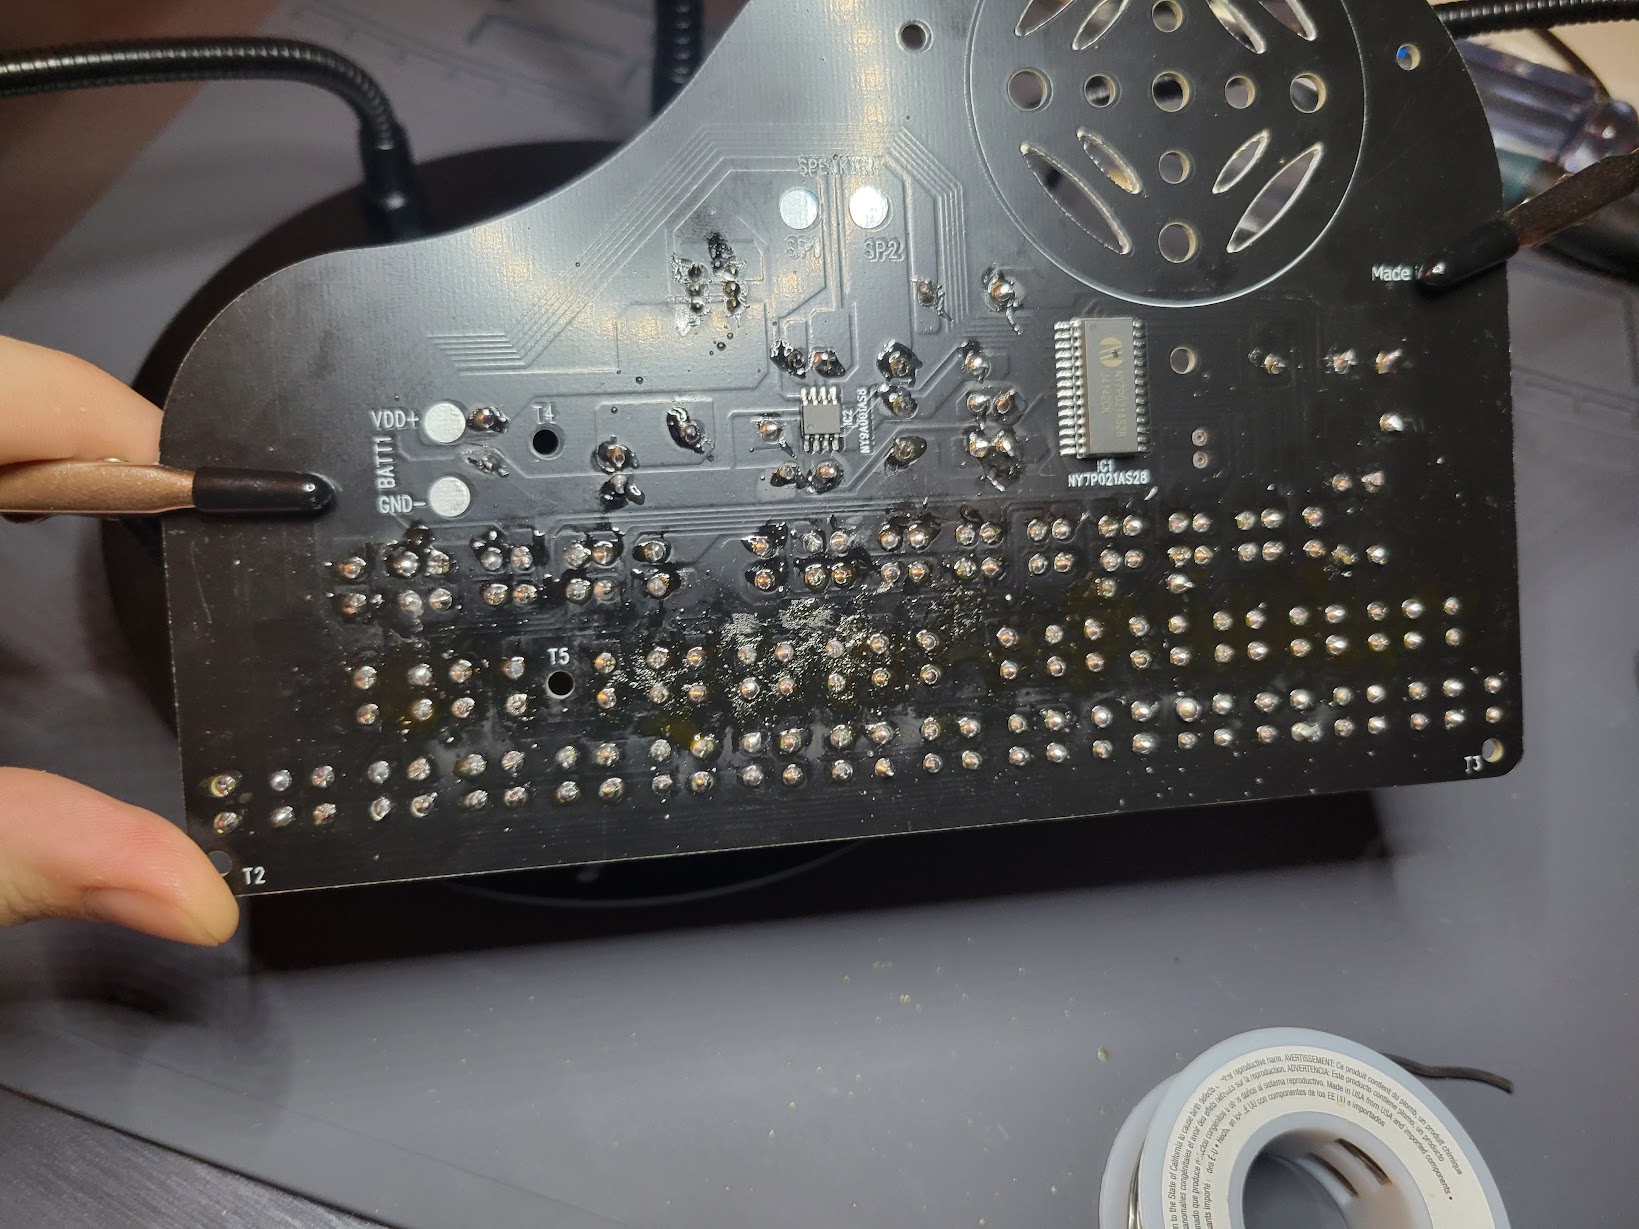
The back.
It came out very nicely, although I did solder the red keys where the black keys should've been, requiring me to get well acquainted with removing solder. That wasn't the end of the world though, since my other soldering projects involve removing some really stubborn stuck-on solder. Desoldering wick is now my best friend.
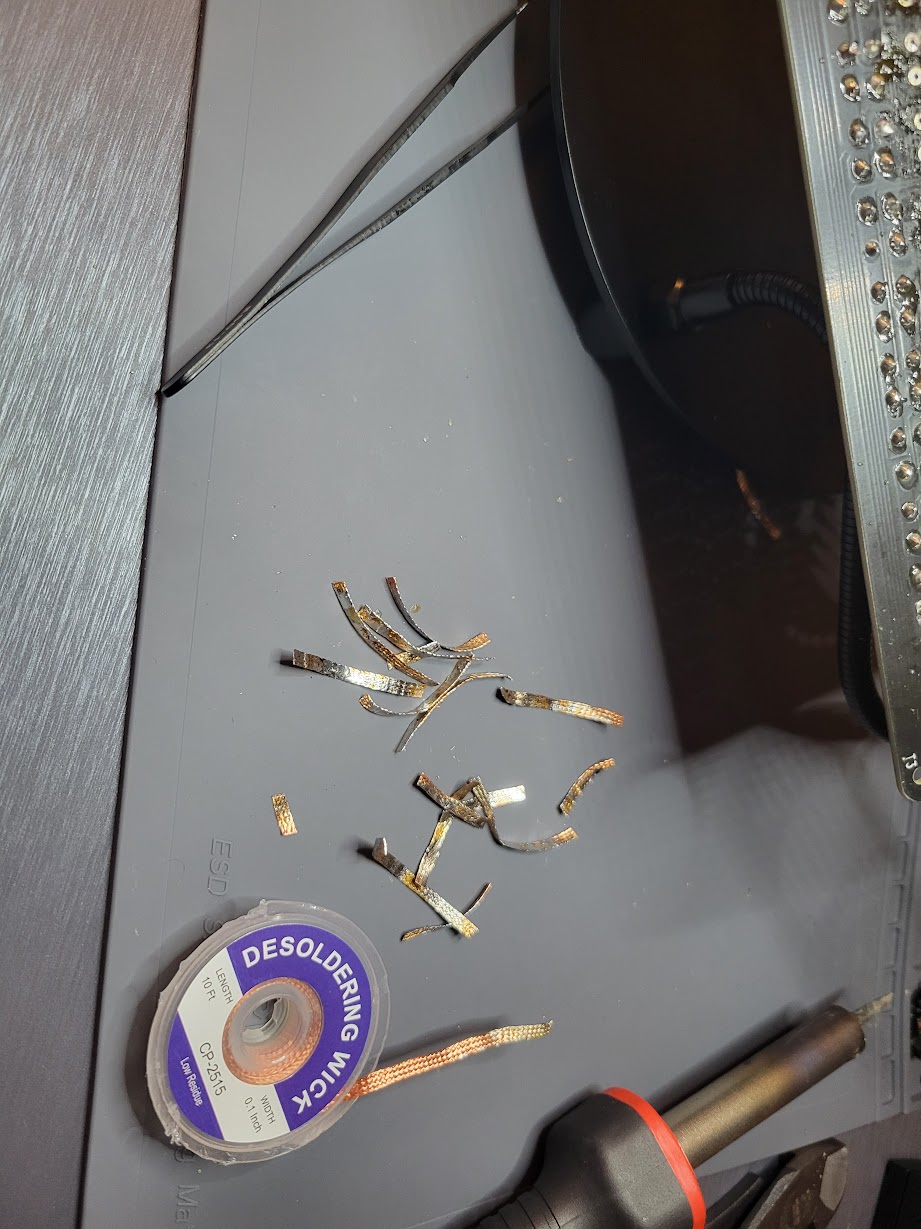
My pile of desoldering wick from removing all the buttons after my error.
I've had an old GameBoy Color since I was about 10 years old. I bought it at a yard sale but it was never able to power on. After doing some research I used my multimeter and was able to determine that the issue was probably that the power switch wasn't working. From there, I desoldered the bits keeping the power switch in place (which were quite stubborn) and removed the panel.
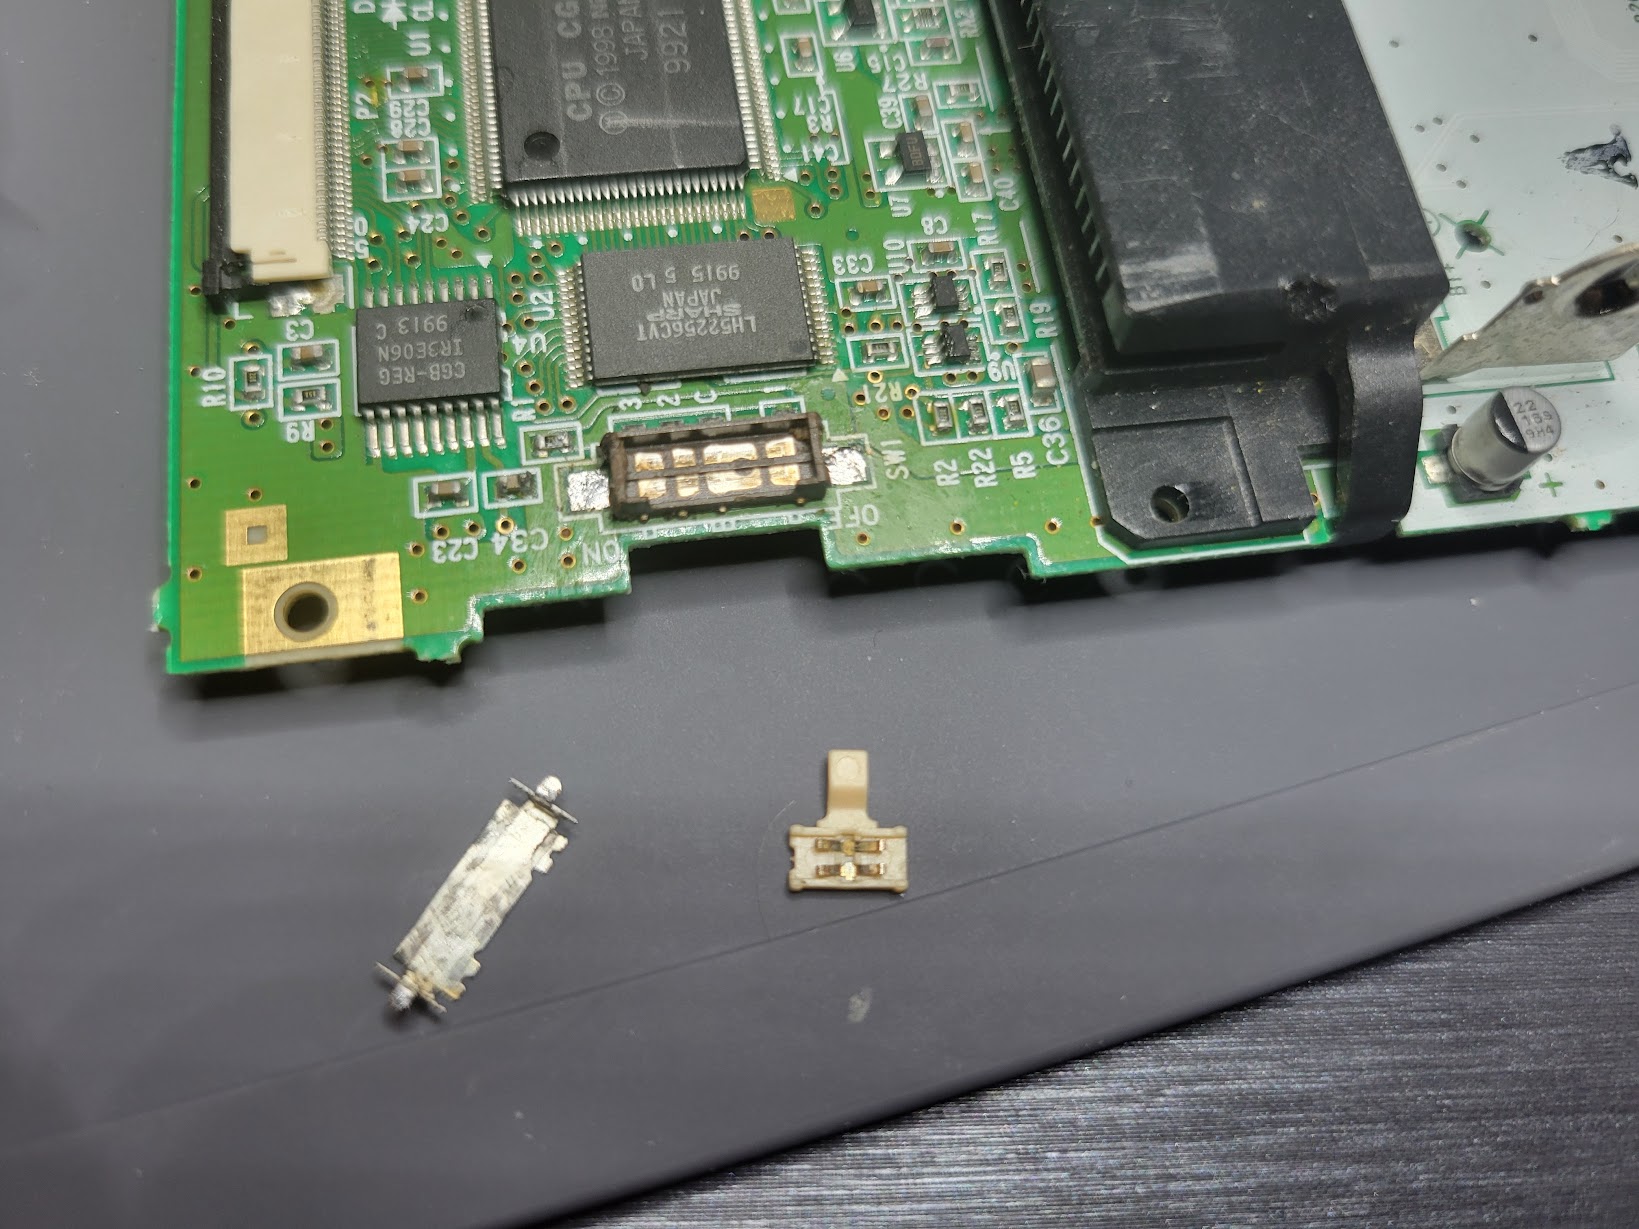
The disassembled power switch for the GameBoy Color. Much simpler in operation than I was expecting.
Then it was a simple matter of cleaning off the switch and switch surface with some isopropyl alcohol, waiting for the to dry, and reassembling the whole thing. To my surprise, this was enough to get the thing to power on! I'm quite thankful nothing more serious was wrong.
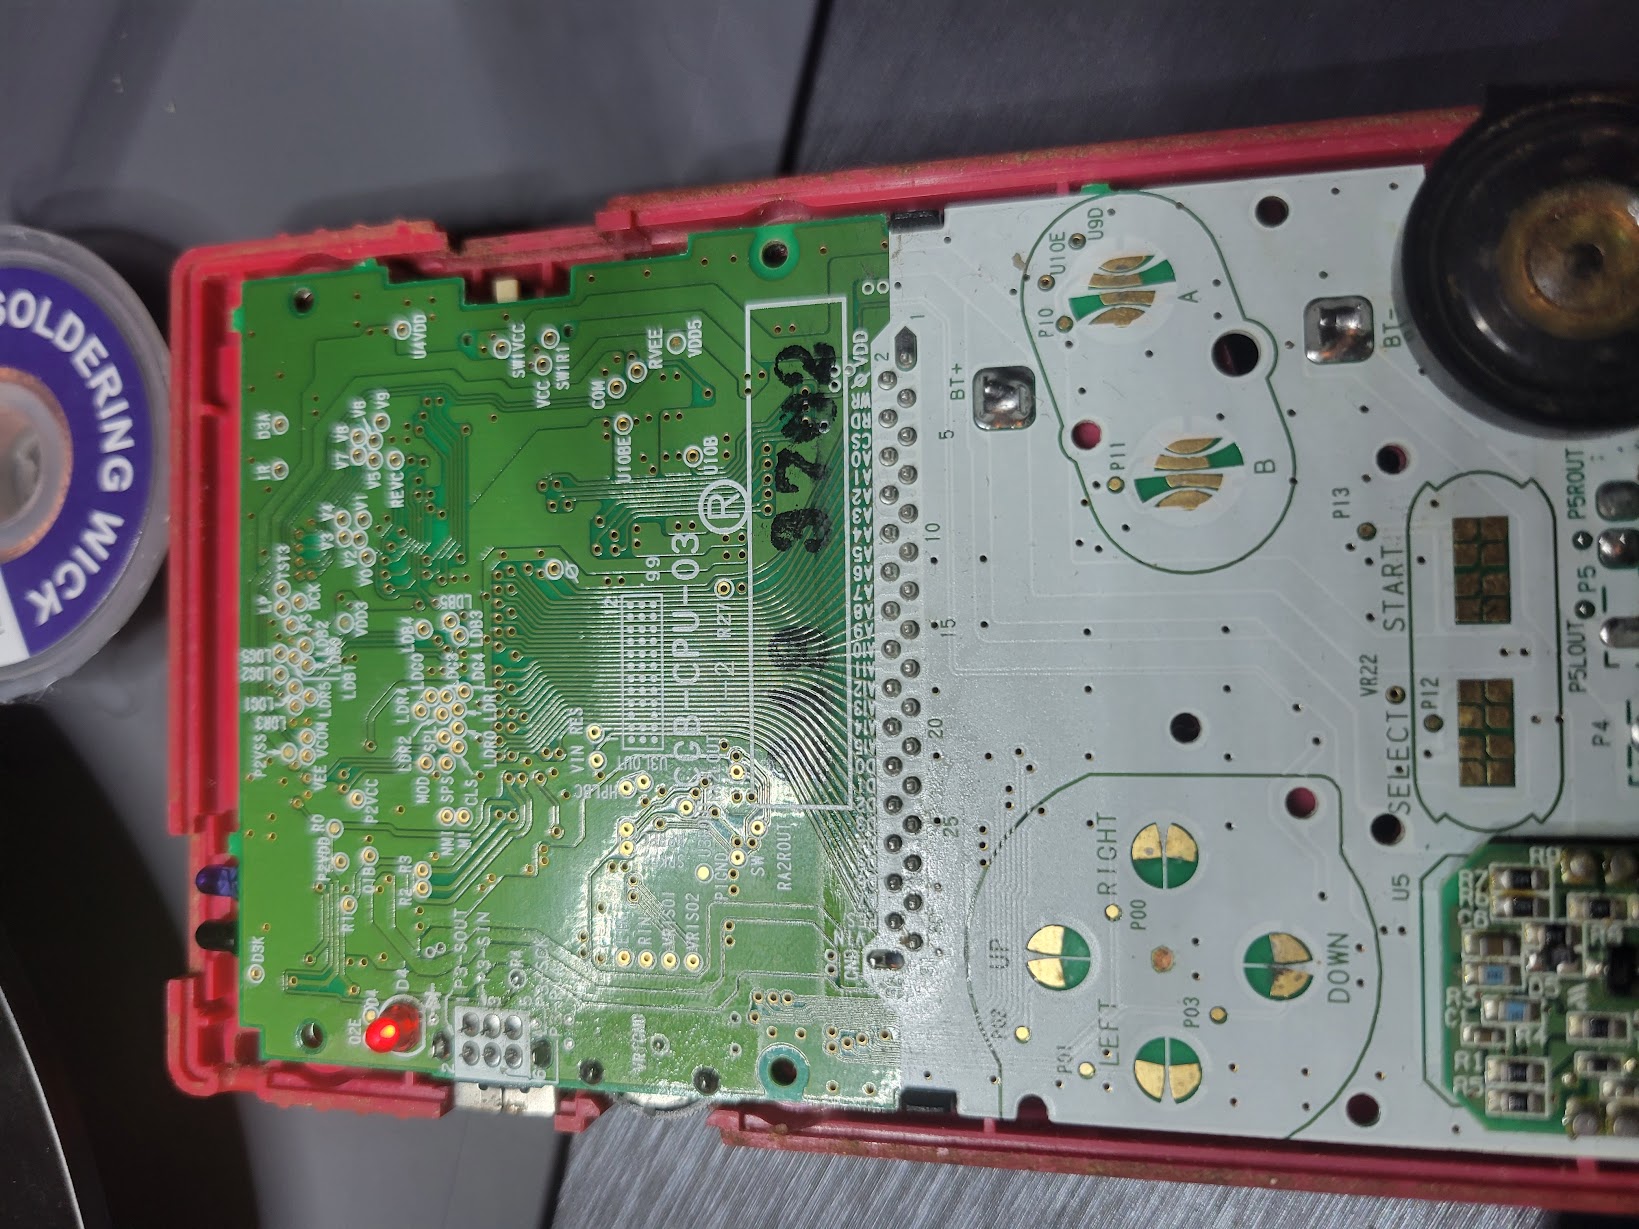
It's a bit hard to see, but the red LED is lit, meaning the console is powered on!
None of the buttons worked, so I'm going to have to go back and see about cleaning off / repairing the contacts for those. A project for another week, as I'm worried about stripping the screws that hold the board to the plastic case from unscrewing it too many times (I should really invest in a ton of screws of different sizes...)
My laptop, a Lenovo ThinkPad Carbon, had a problem: every time it ran out of battery completely and was recharged, it beeped extremely loud when powering back on. It took me a little while to figure out the issue, since all I saw was it screaming about date and time settings. After some research I realized the small CMOS battery attached to the motherboard had probably died, so the computer way really dying all the way every time the main battery was drained.
From there I got the new battery, unscrewed the laptop, and replaced the battery. I'd been intimidated by the idea of laptop repair before, but looking at it here I could tell it's just a very specialized computer, so finding the battery and replacing it was a breeze. Now the laptop powers on without beeping extremely loud!
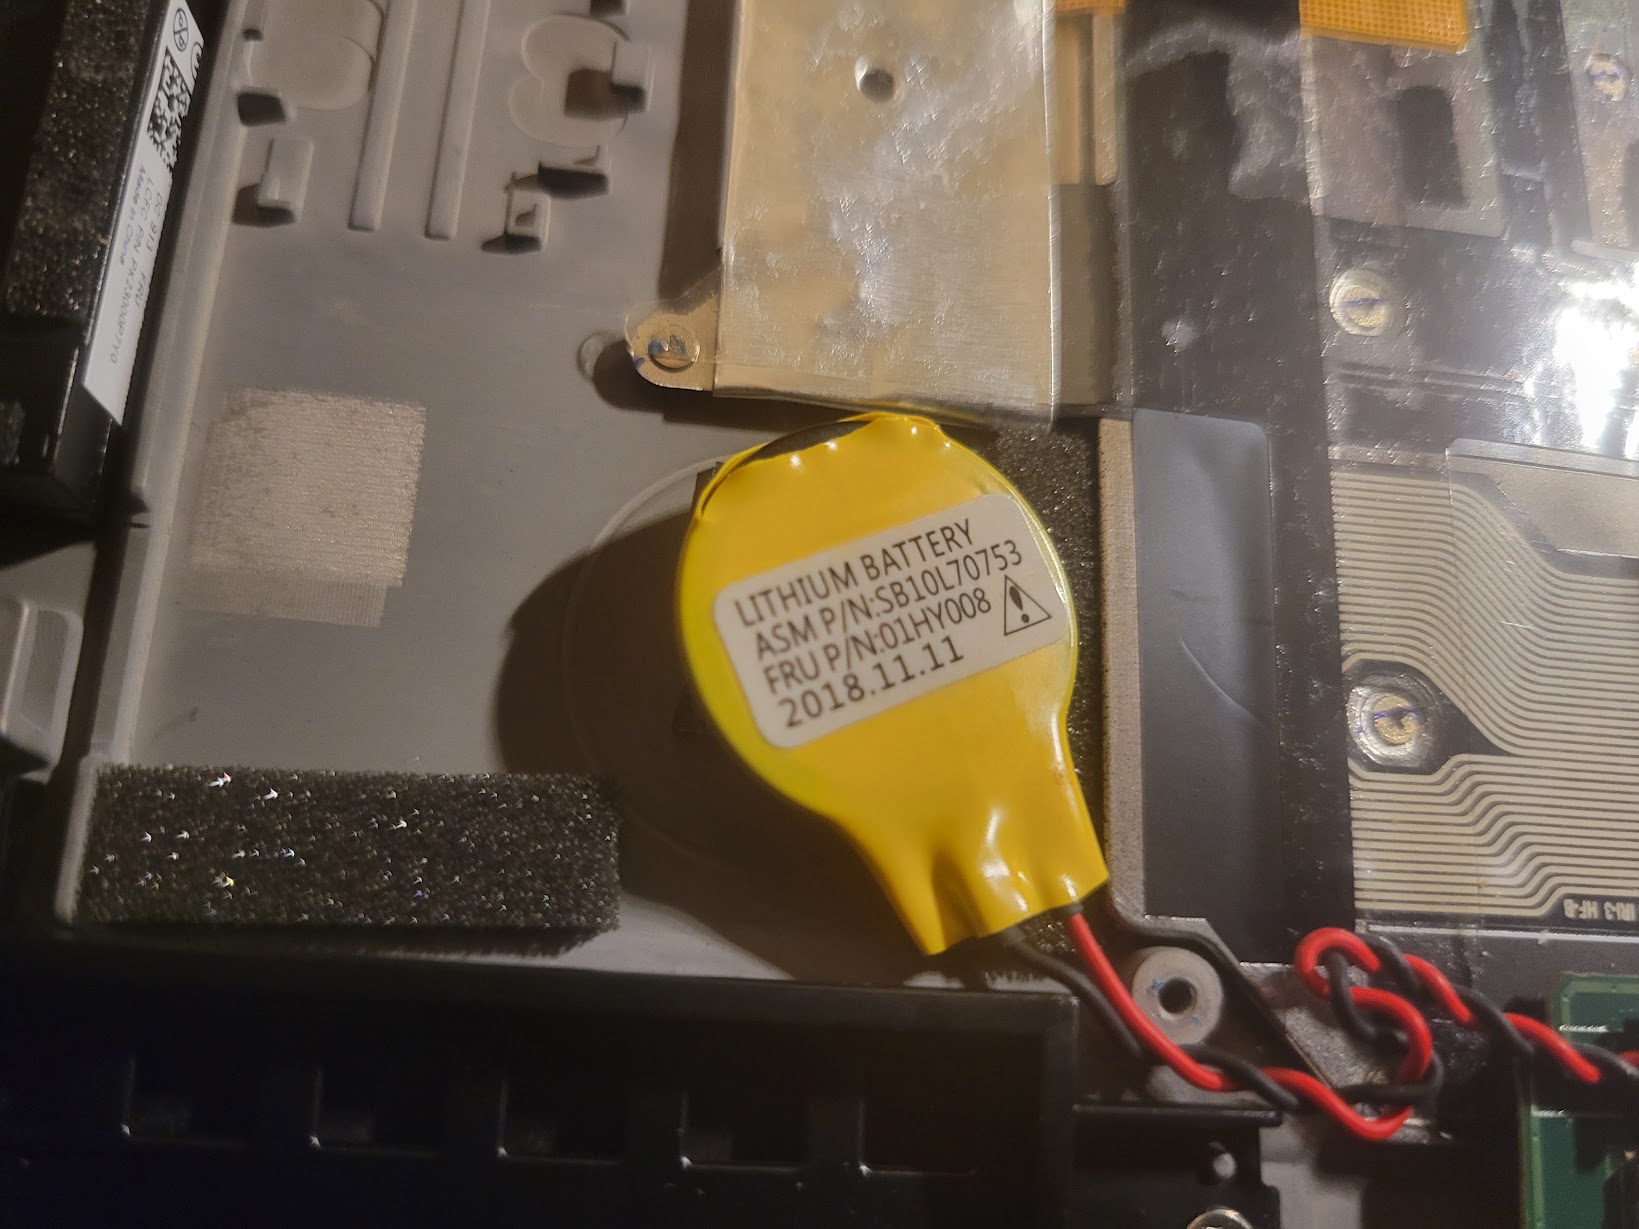
The old CMOS battery, still attached under the main battery.
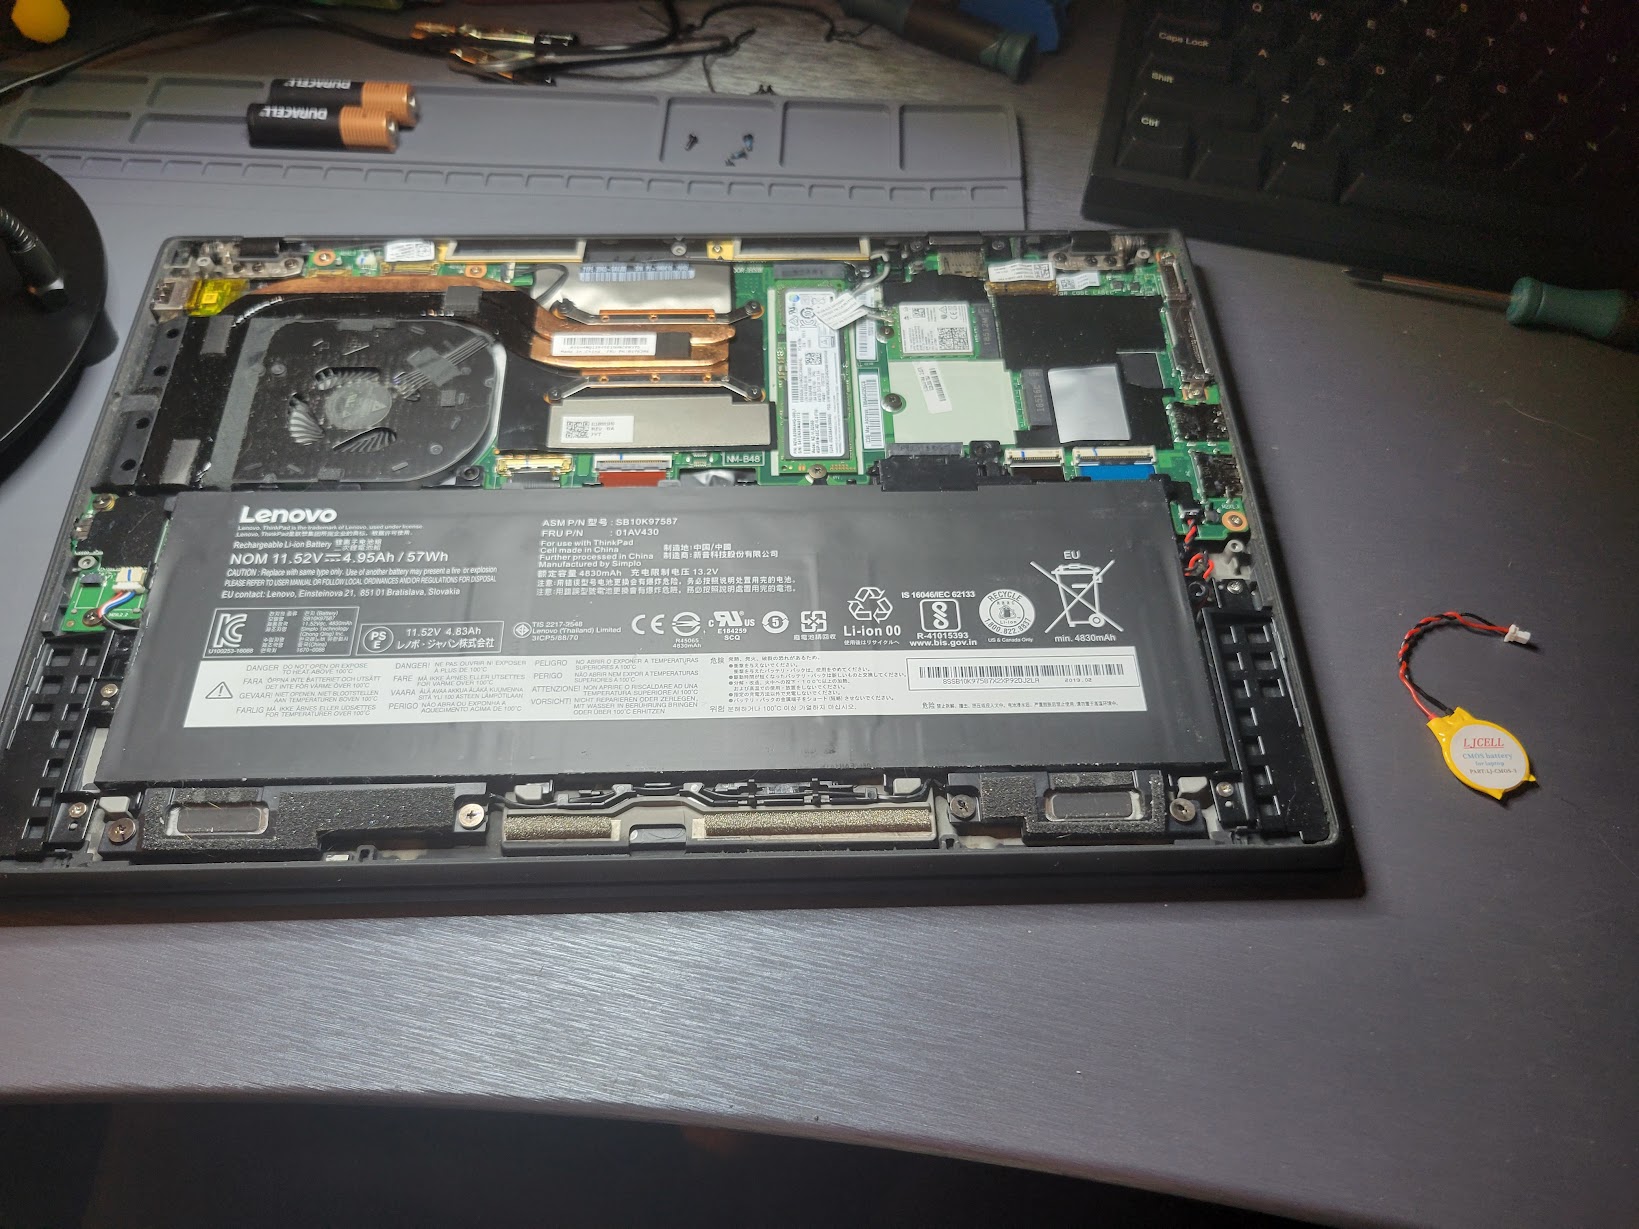
The opened laptop with new CMOS battery to be installed. You can see the old one's red and black cord poking out to the right of the main battery.
I crashed my bike back in December. My injuries weren't too bad, see the spoilered images below if you're curious.
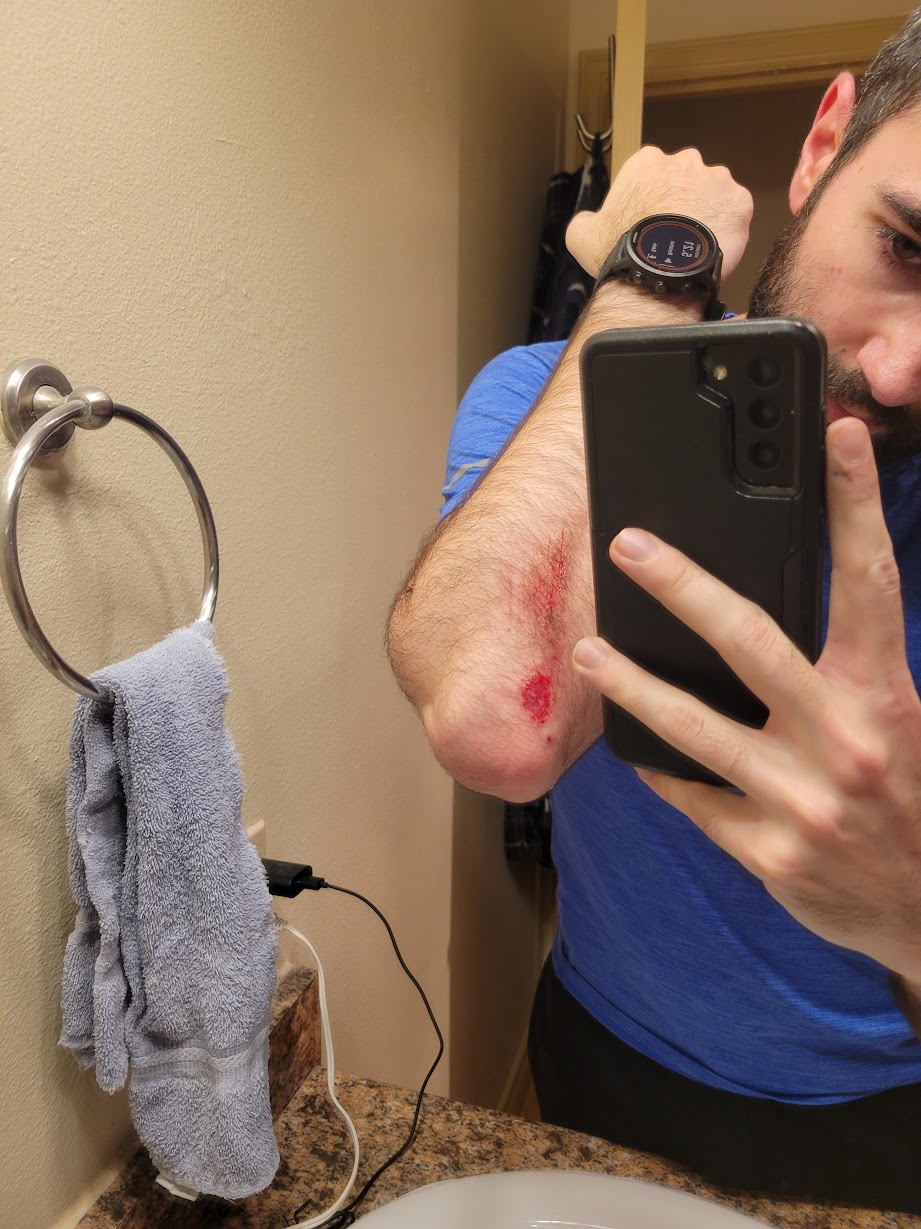
The scrape on my arm.
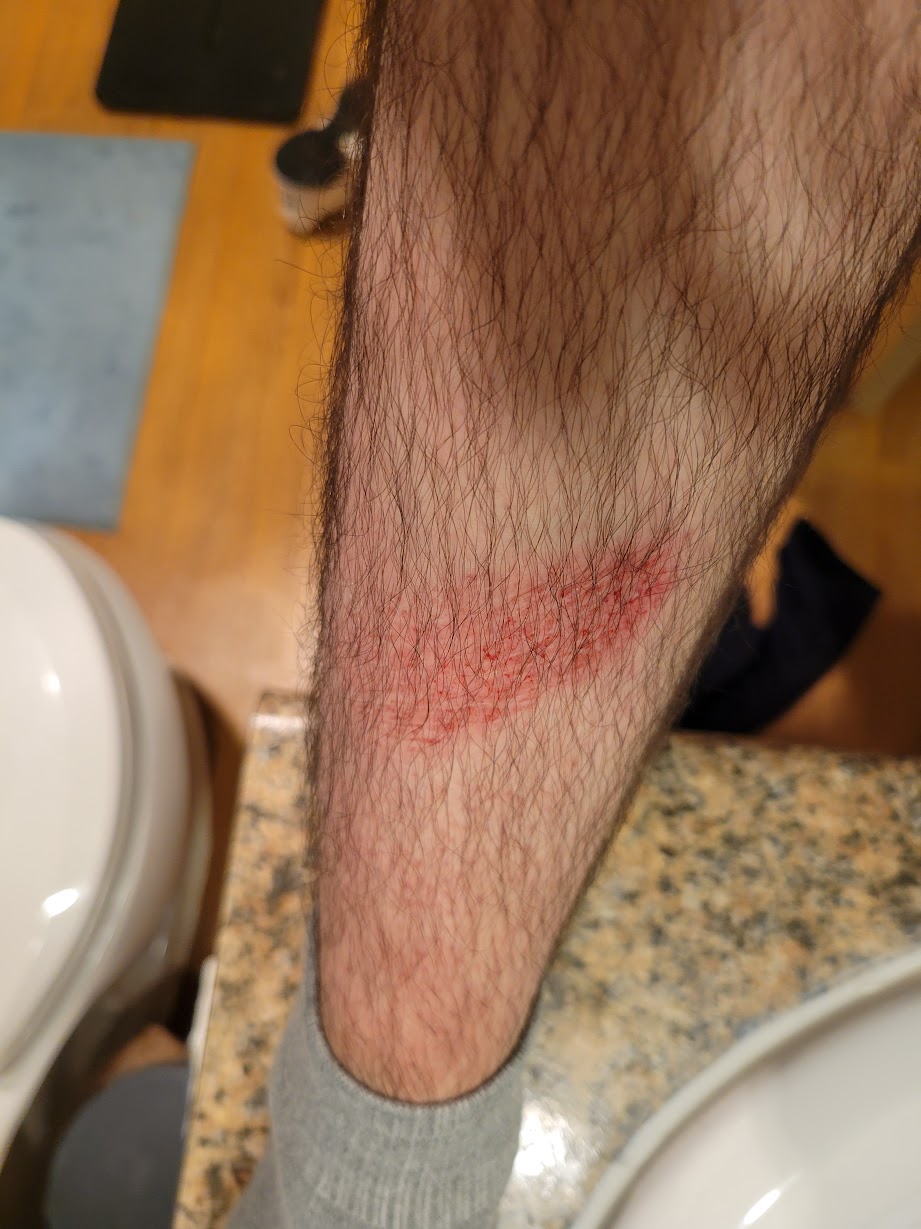
The scrape on my shin.
The worst part of the whole thing was that I broke two parts on the bike:
The front shifter had seemed fine, but the second I tried to shift up there was a little *tink!* and the knob sheared off.
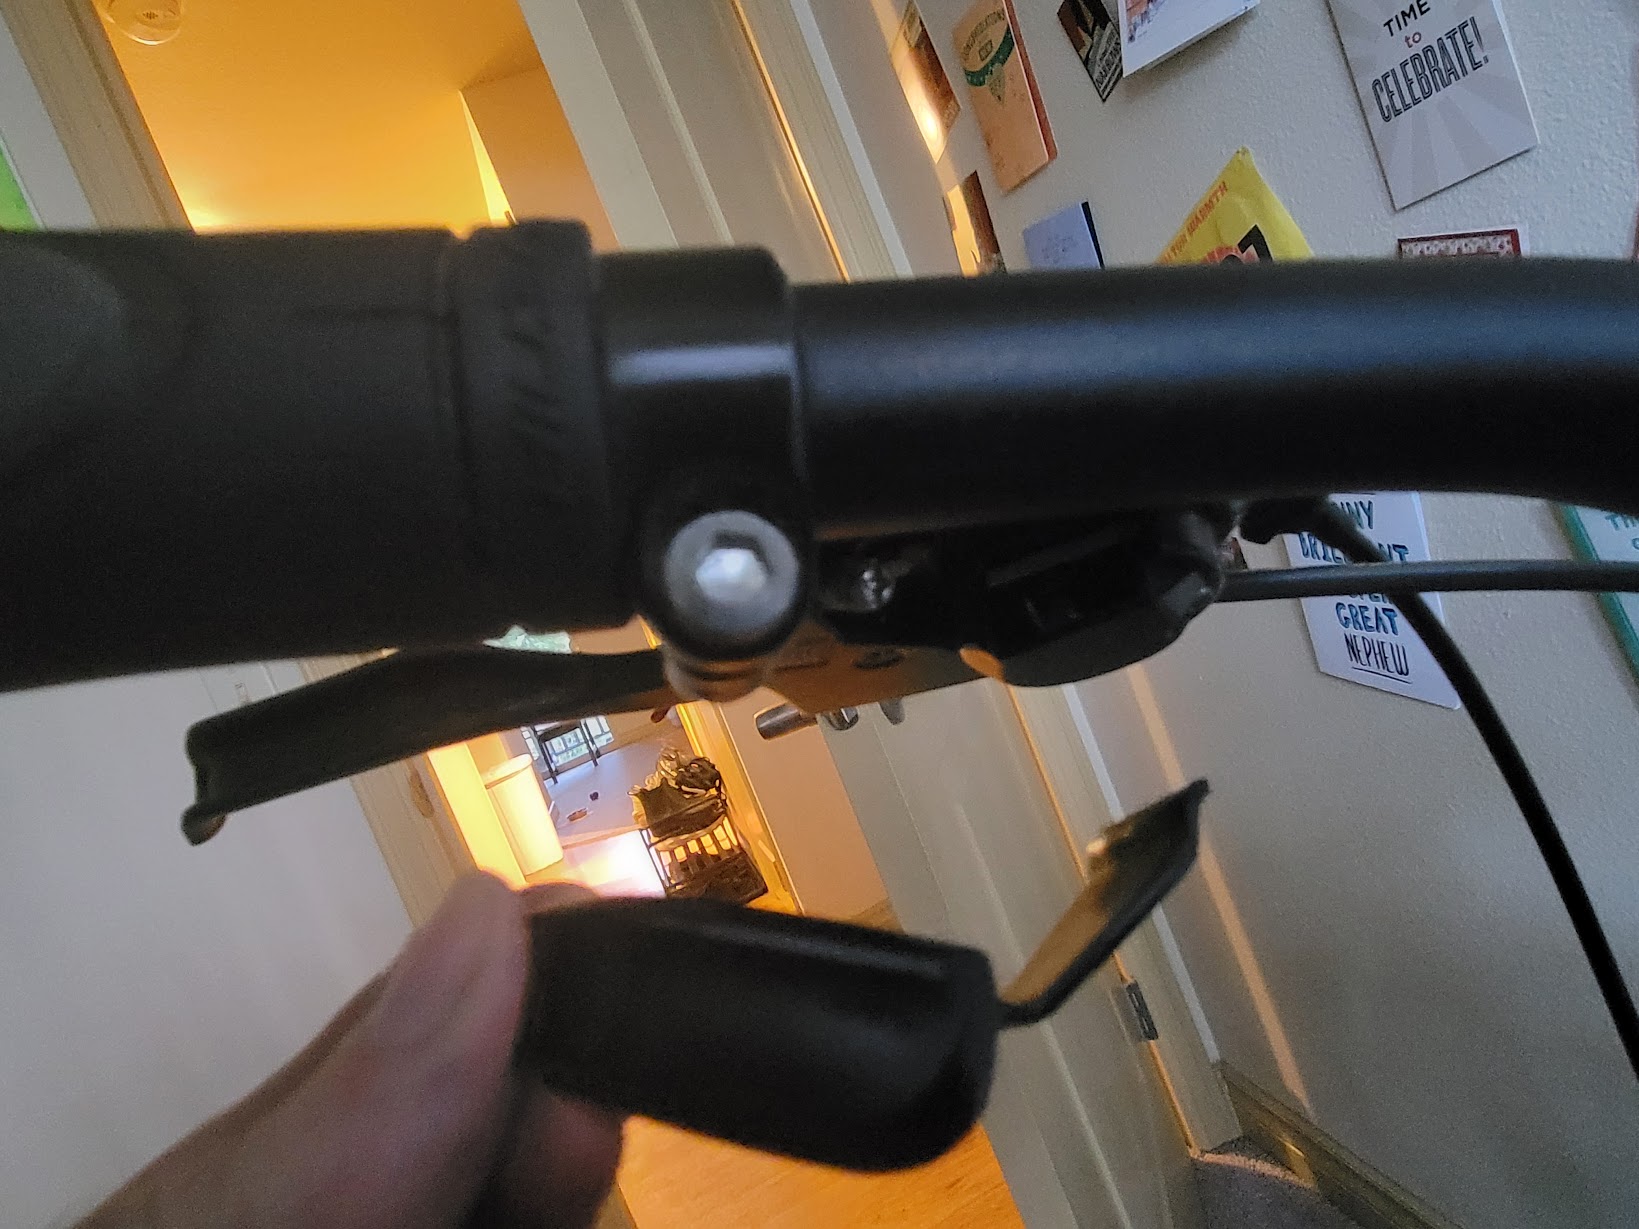
The shift knob of the bike that broke off, and the spot it broke off of.
So two pieces of maintenance, not too crazy. Replacing the pedals was easy, just unscrew the old ones and screw on the new. Easy peasey! I'm not sure if I love the new pedals, they're quite large and mountain-bike-esque, where my bike is a hybrid leaning more road (although I've still got flat pedals).
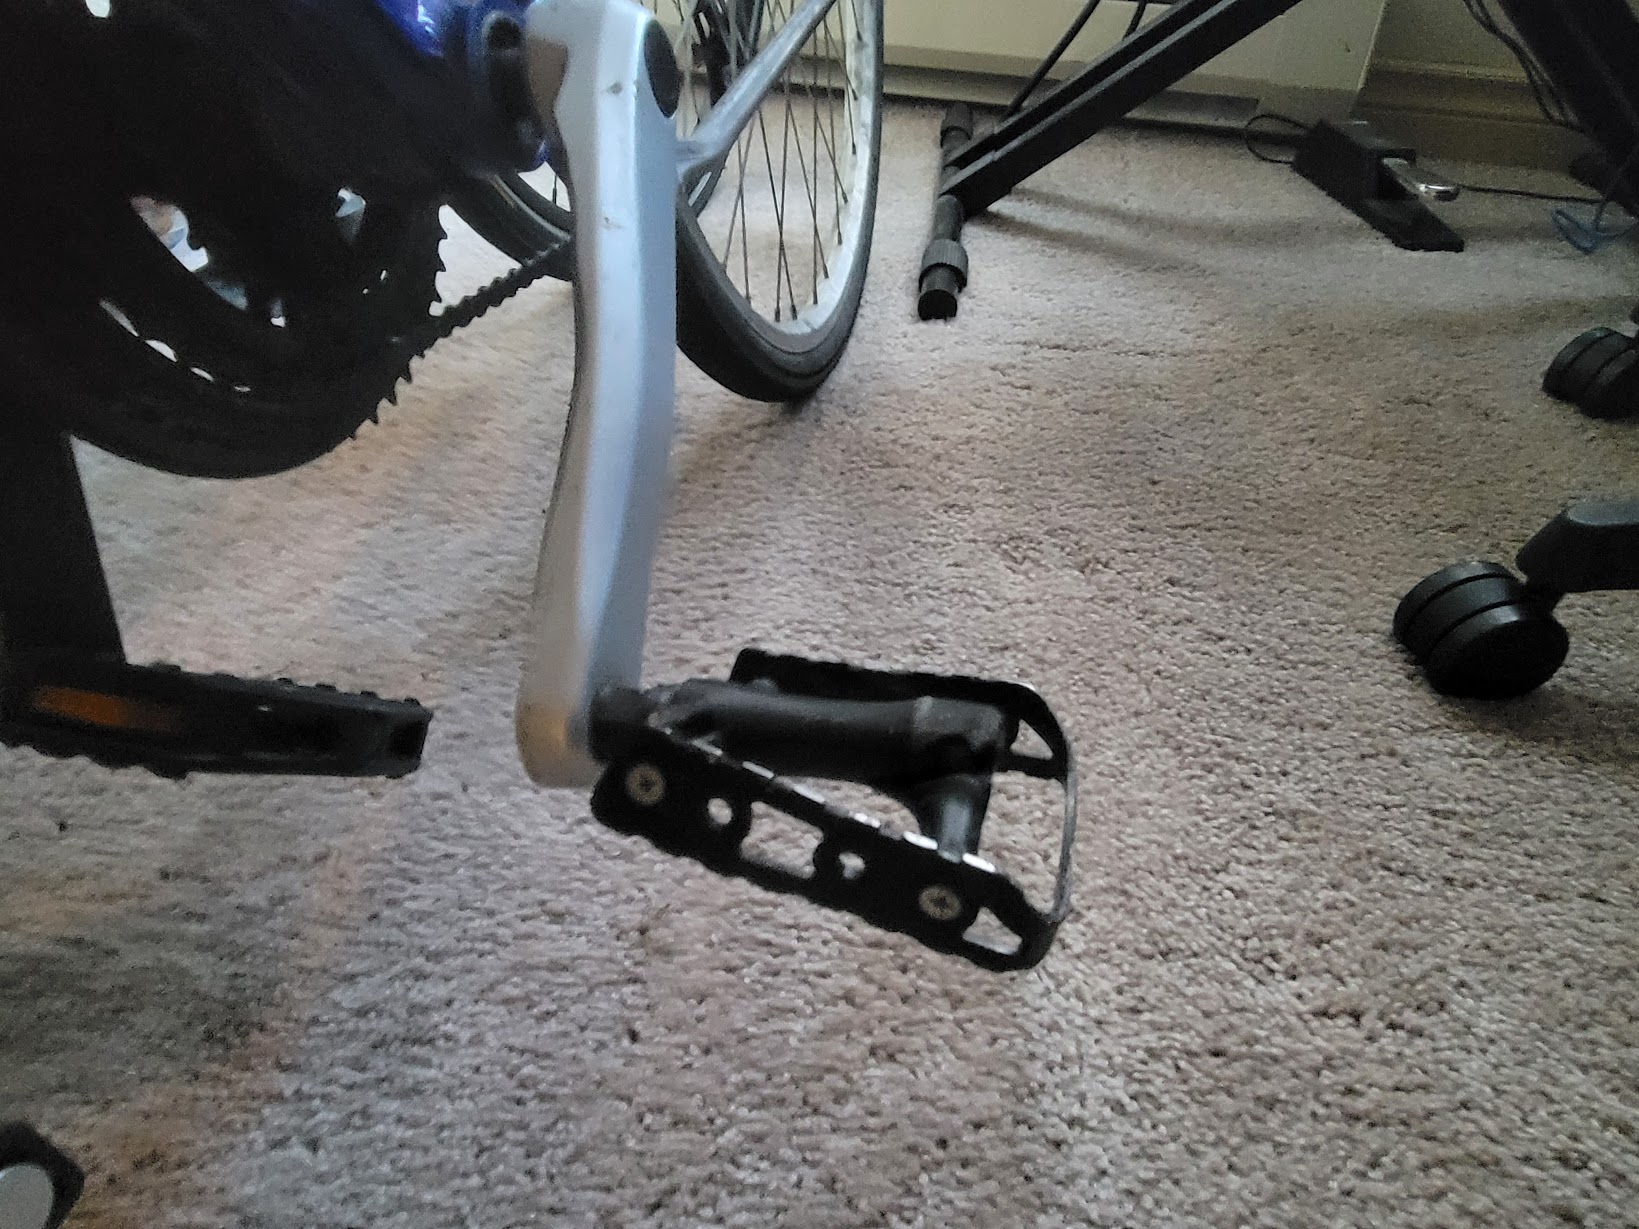
My old pedal, bent after the crash.
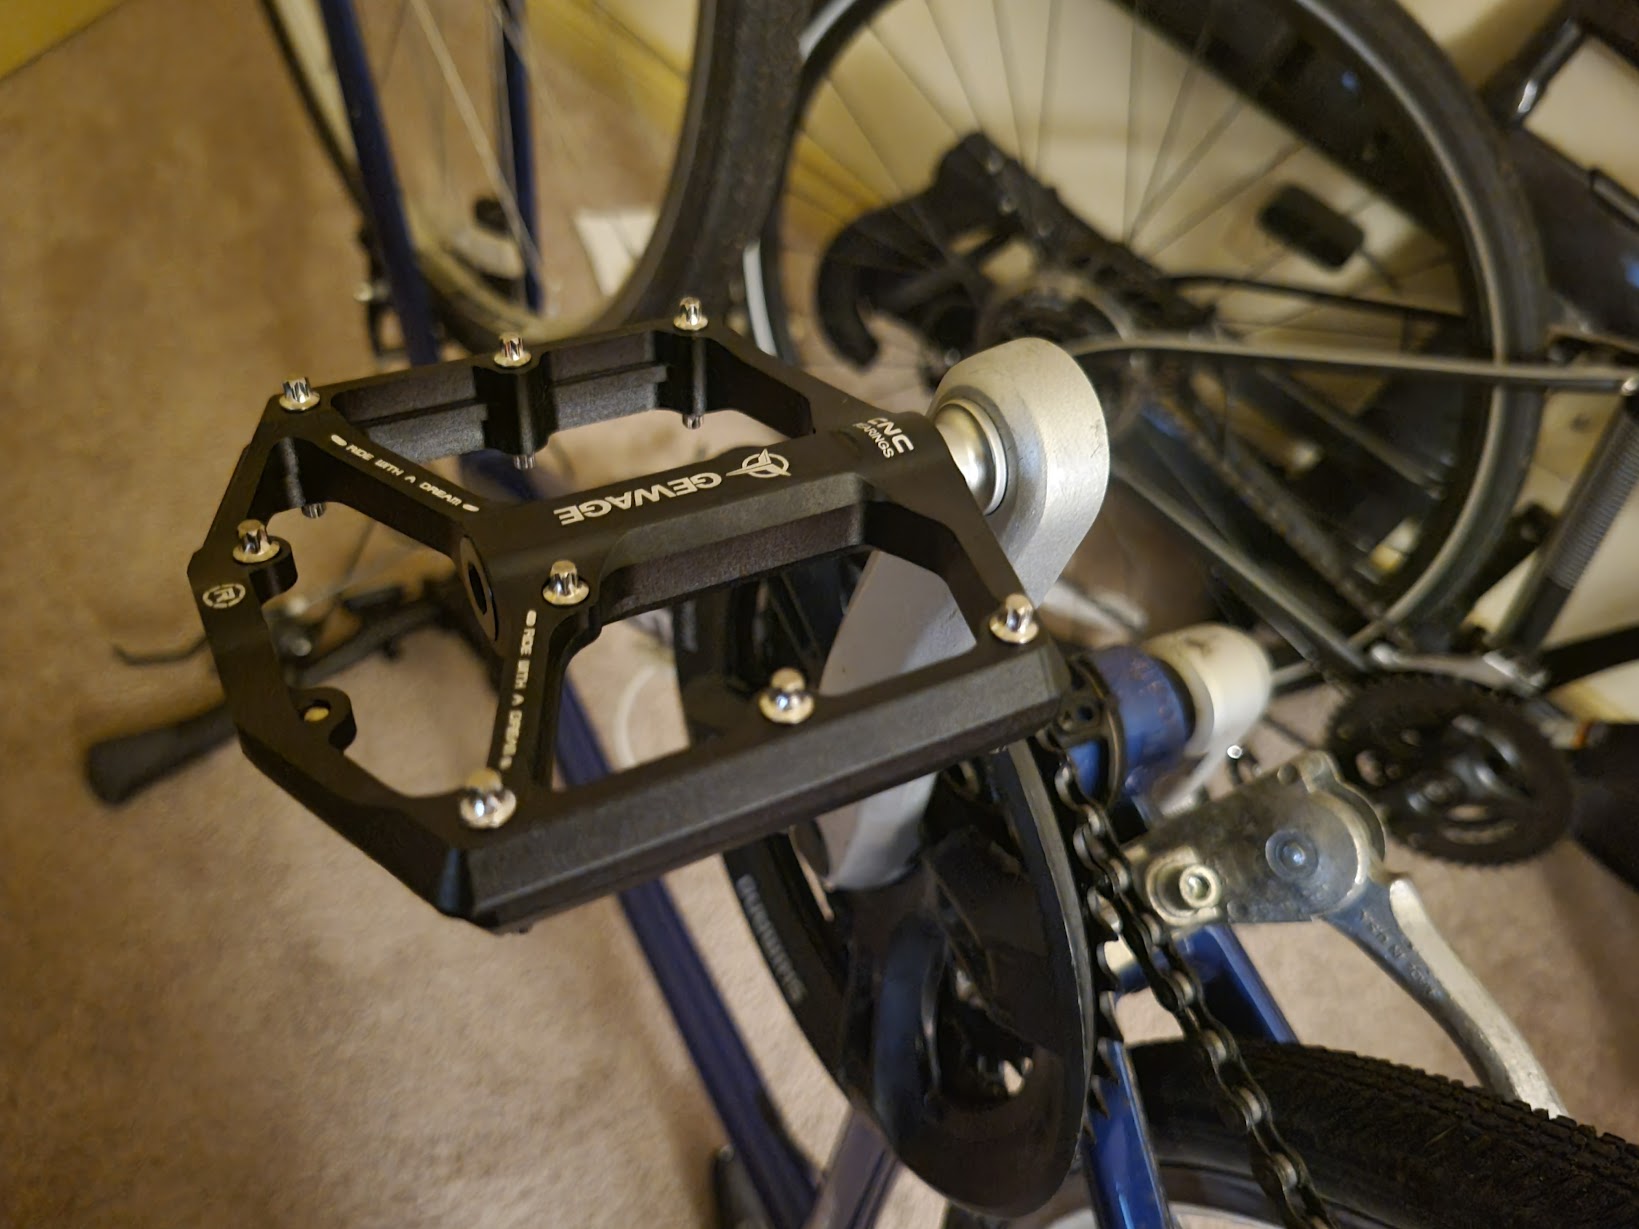
My new pedals, attached to the bike.
The shifter was more intimidating: wires, the brake line, and the rest of the handlebar assembly to contend with… It ended up being a lot easier that I expected! Removing the grip was the hardest part, got some rubbing alcohol inside and slowly worked it off. This made me realize the bar end caps should probably also get replaced, since the one on the left got pretty scraped up. From there though, I just had to unscrew the brake line, undo the shifter cable, pull it through, then reattach everything on the new shifter.
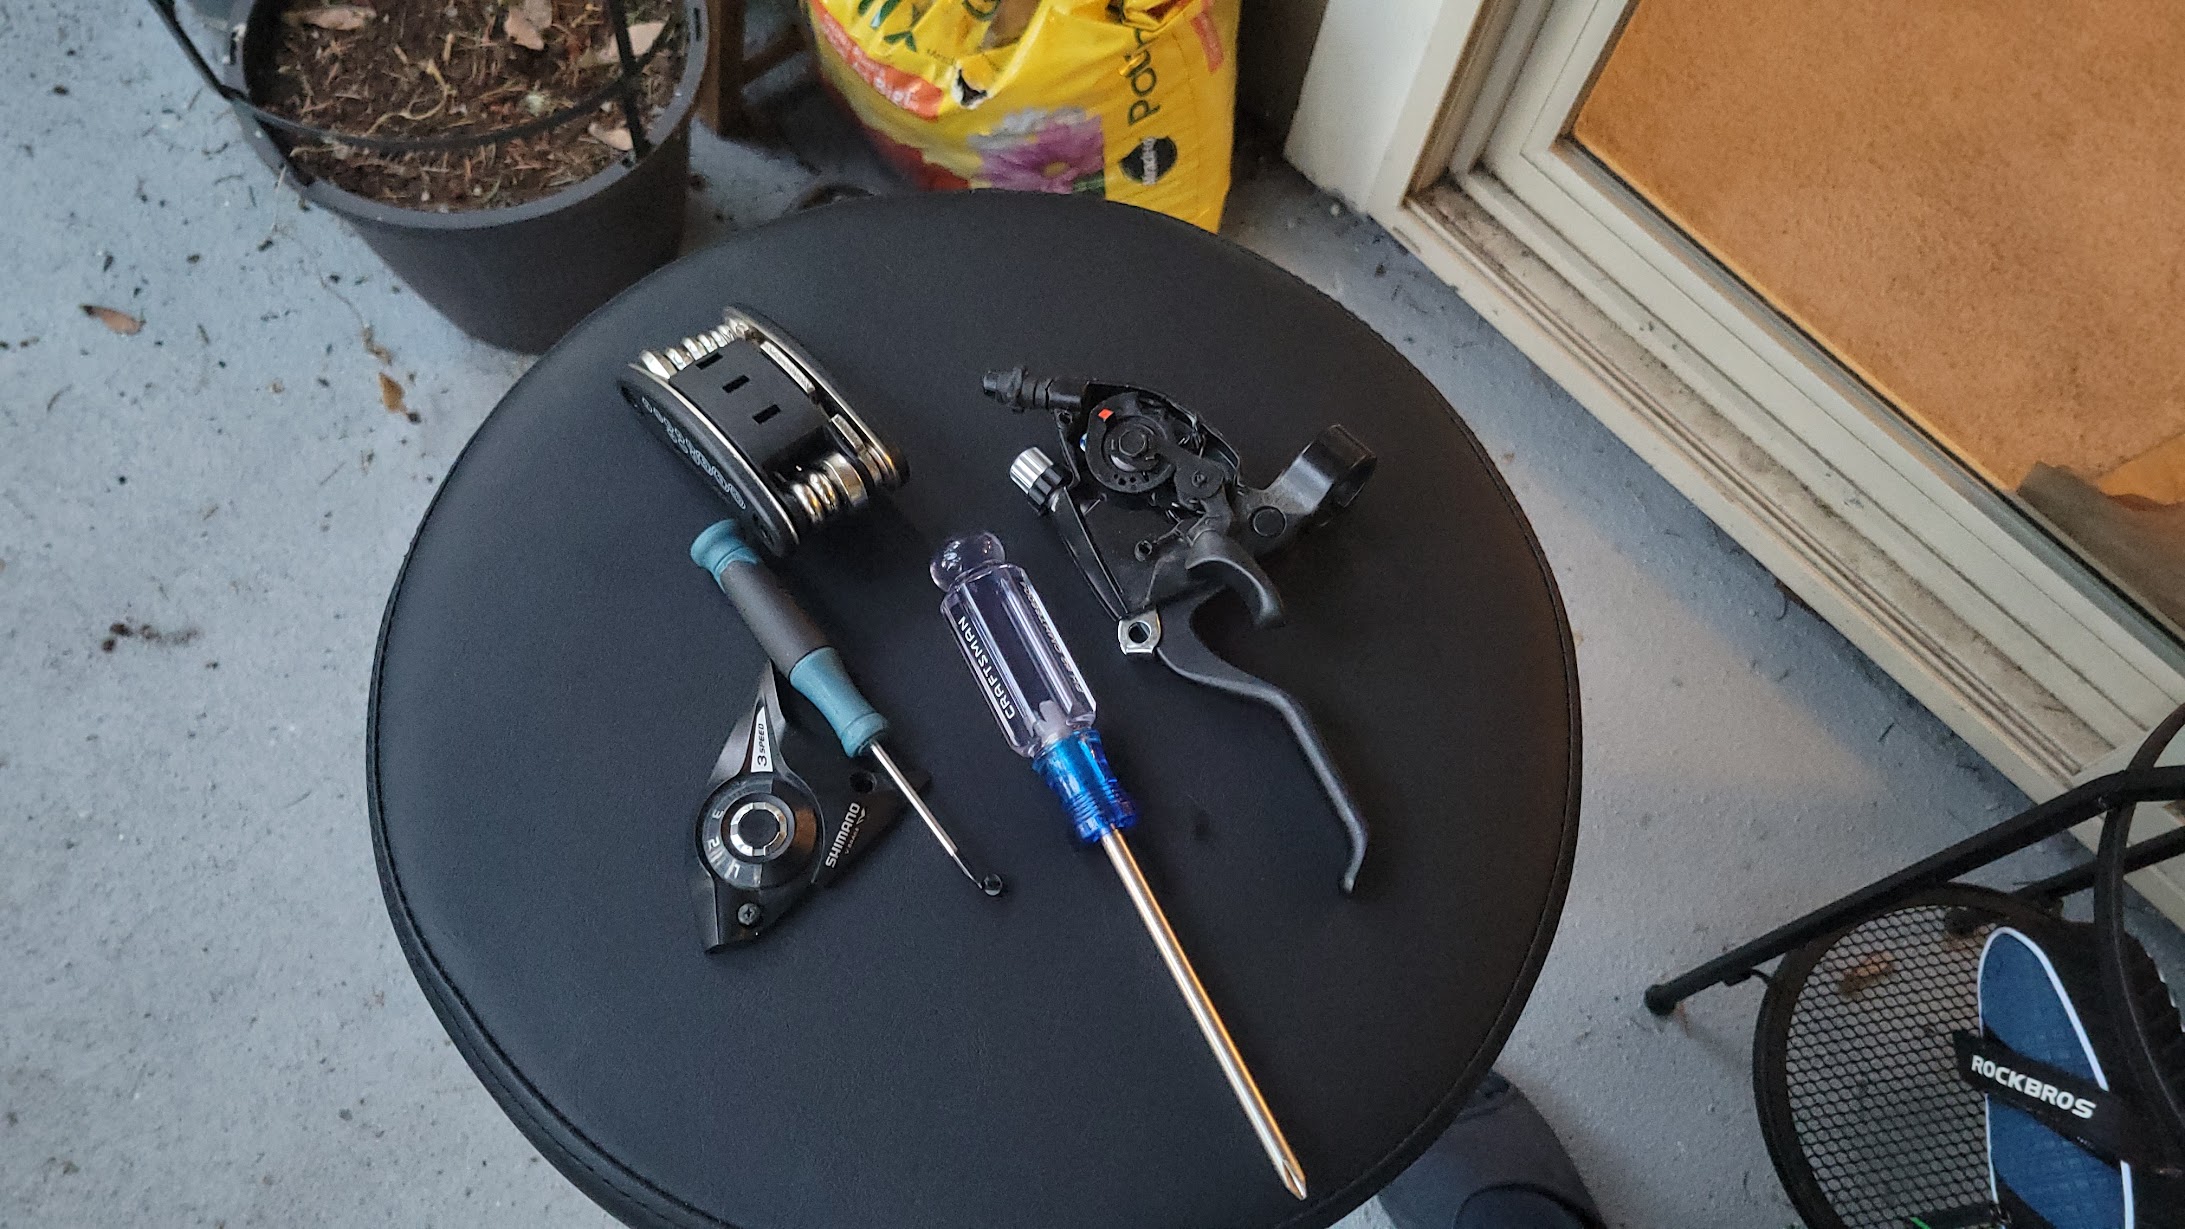
The old shifter, disassembled after I managed the get the wire out. Kinda cool to see the ratcheting mechanism that makes it all tick.
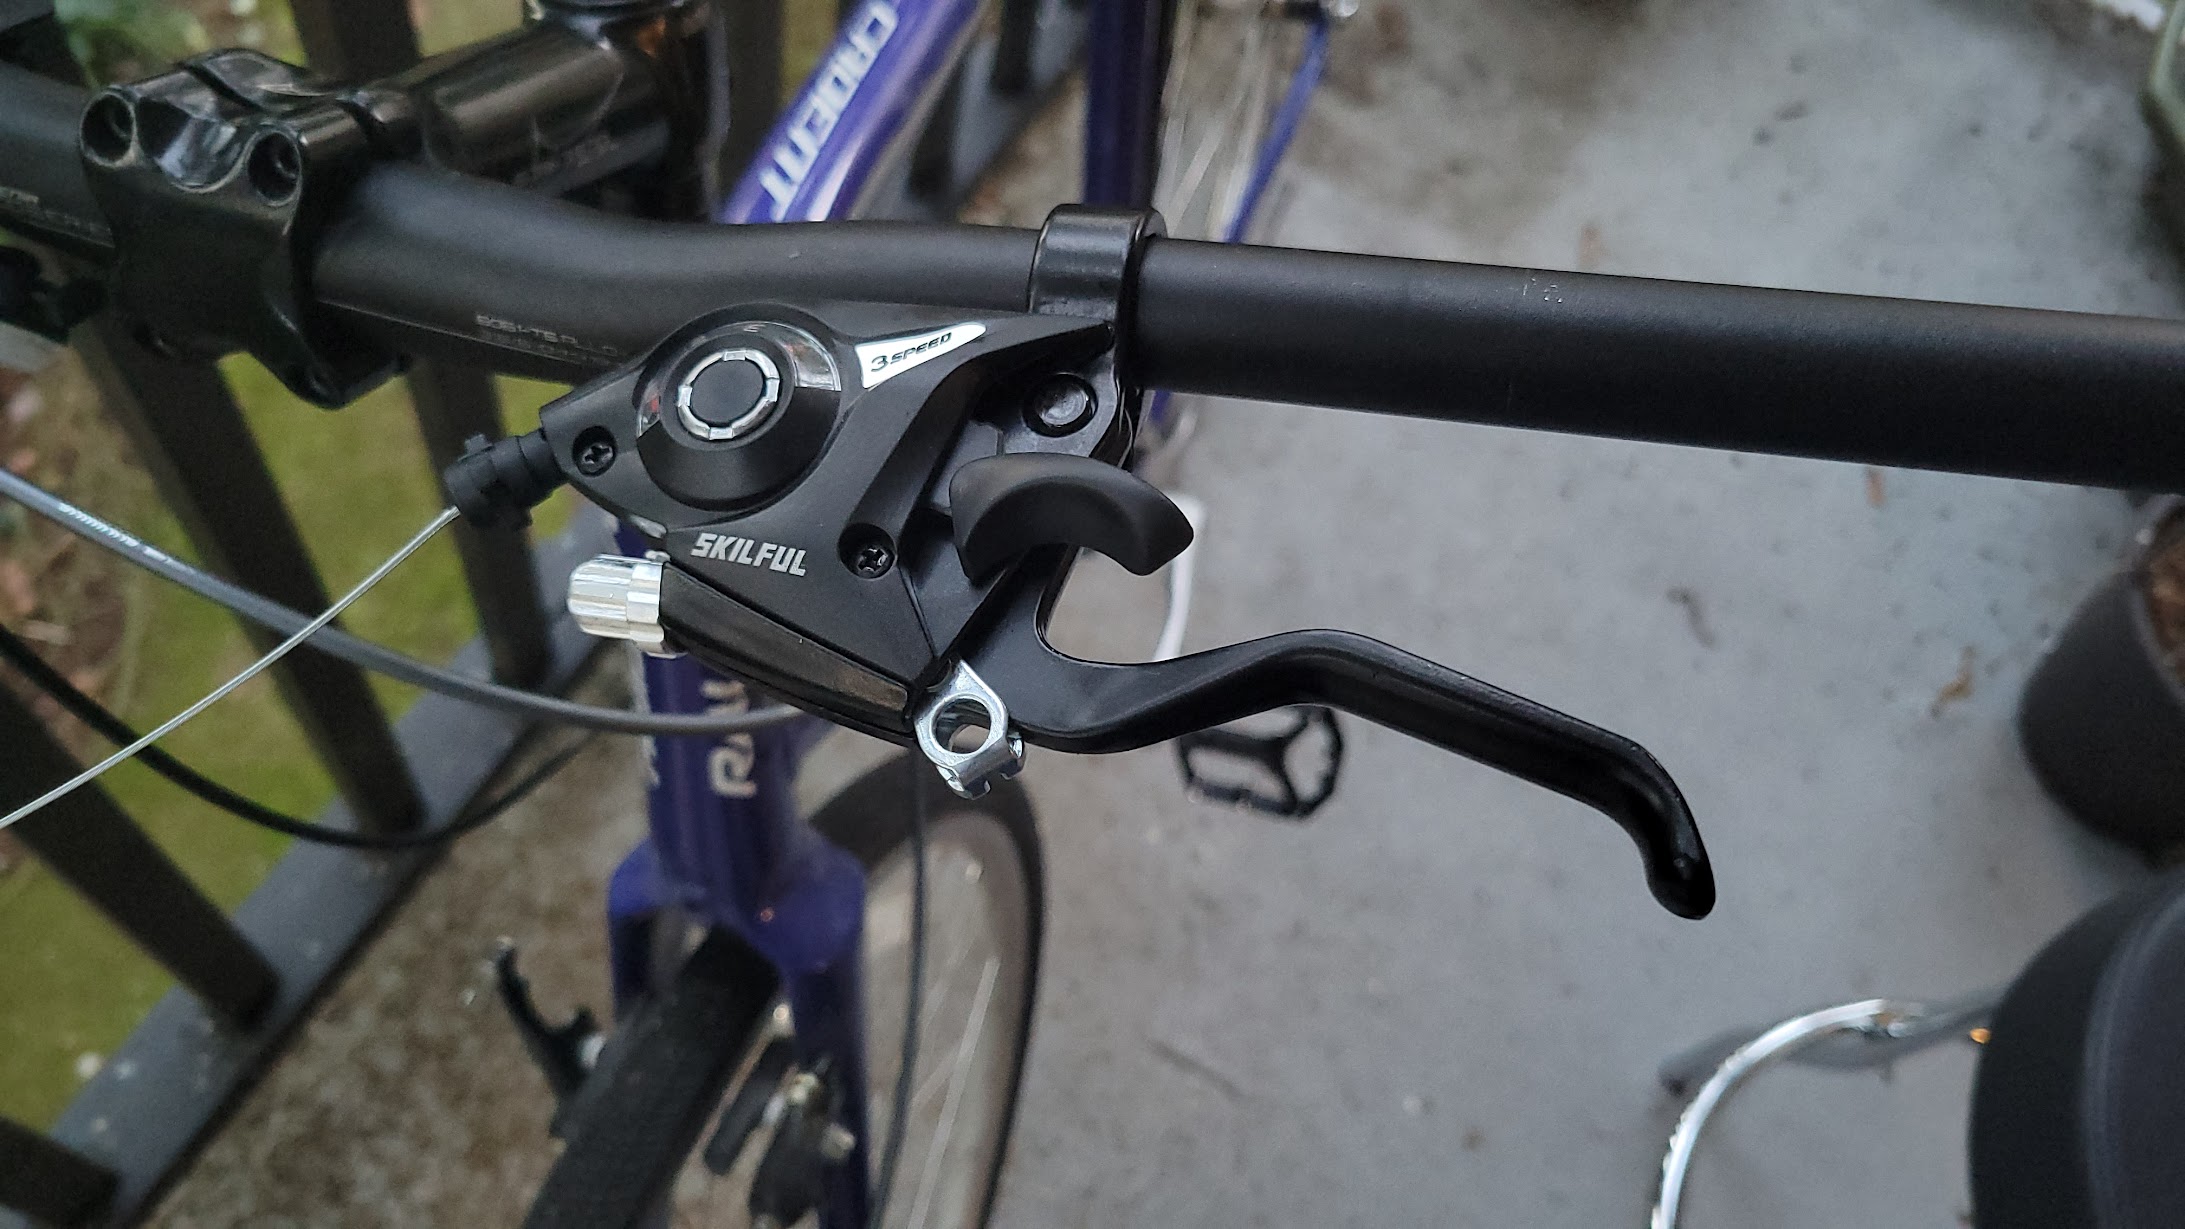
The new shifter installed on the bike (save for the brake wire at this point).
Since I already know how to adjust the brakes and index the gears, it was pretty easy from here. Felt good to do all this myself, I understand my machine quite well now.
I'm planning to begin developing for the Raspberry Pi soon, I've got two lying around and it would be nice to write and OS for them to really flex my OS development skills. As I work on transition from games to more complex systems development a project like this will go a long way to show off my adaptability and general software delivery skills.
Otherwise, finishing my fixes for the GameBoy Color (the buttons) and fixing a handheld video poker machine I have lying around are other things on my radar.